Monday, February 28, 2011

Gallery Wall

Vintage Printable is a free public domain website with some great vintage prints that are past copyright so are free to download or print.  All of the images in my gallery wall were downloaded from there.  I downloaded them, cropped them to the size I wanted, then sent them over to kinkos to print...all for a whopping $11!  The Vintage Printable website is under construction at the moment so it can be really frustrating to navigate.  The easiest way to view the images is to disable the flash player {there's a little tab under the gallery images} click that.
 
 *I realize there's a "hole" on the right side of my gallery wall - I'm on the lookout for the perfect thing to fit the space, just haven't found it yet.
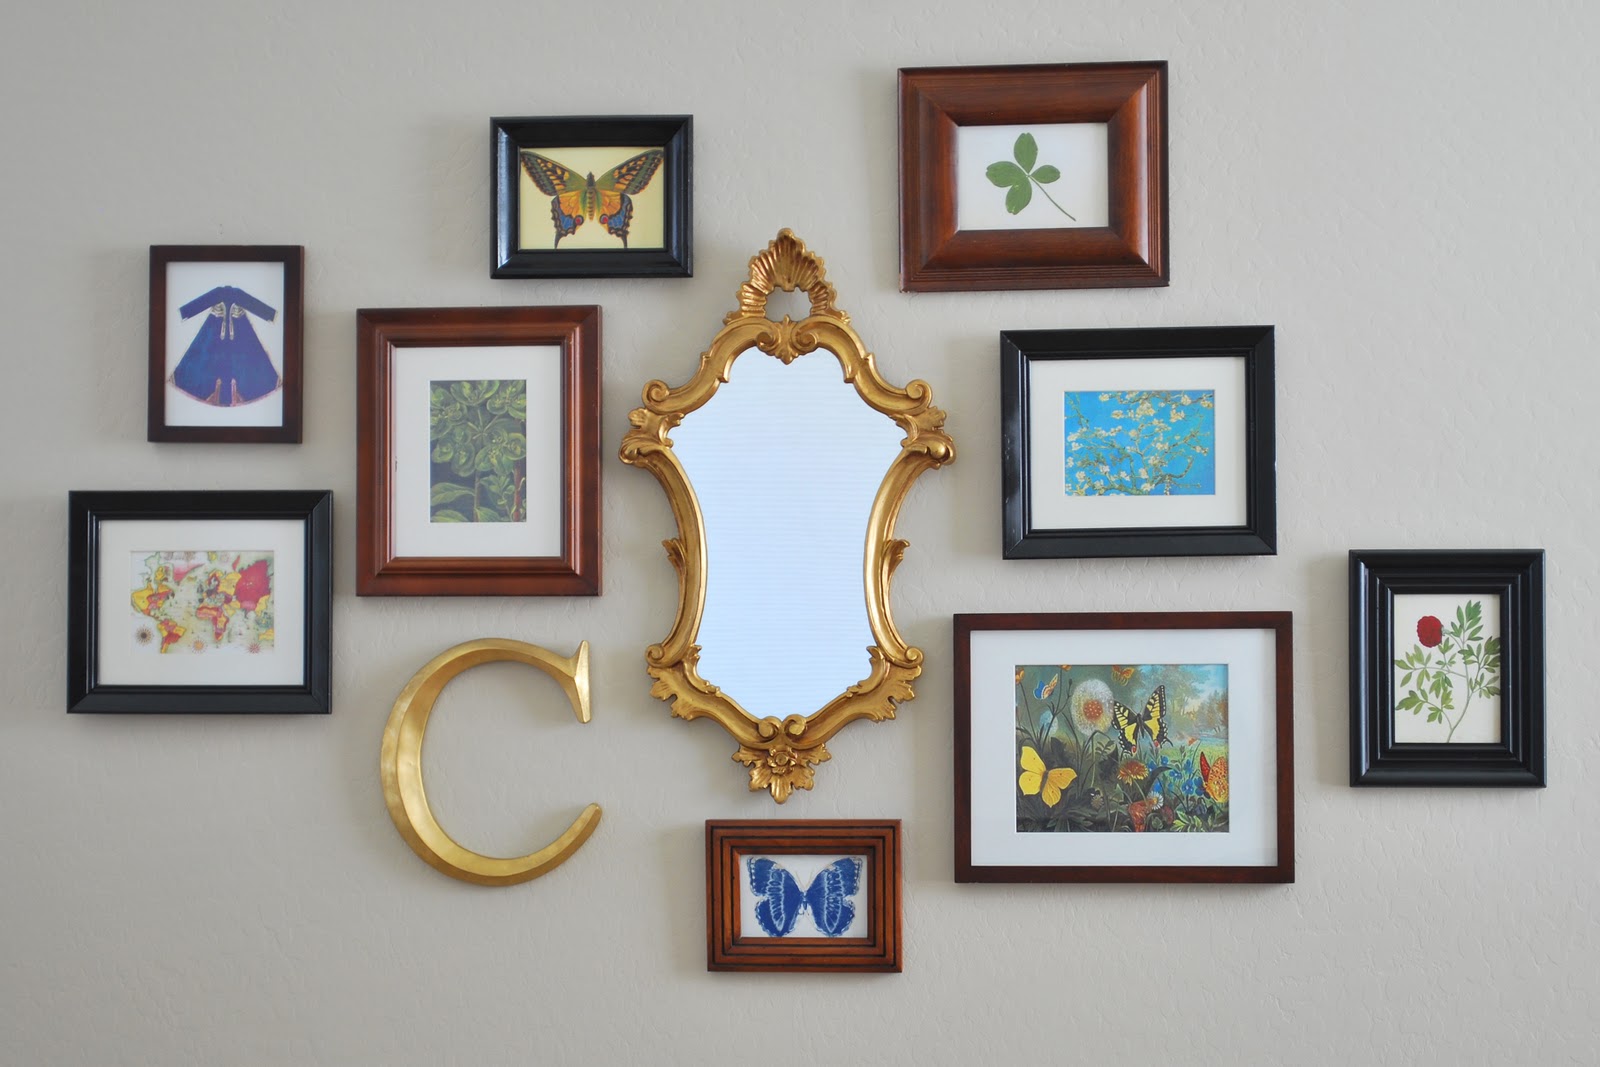
Wanna guess the price of my fabulous mirror???
You're wrong!  $10 at Big Lots!


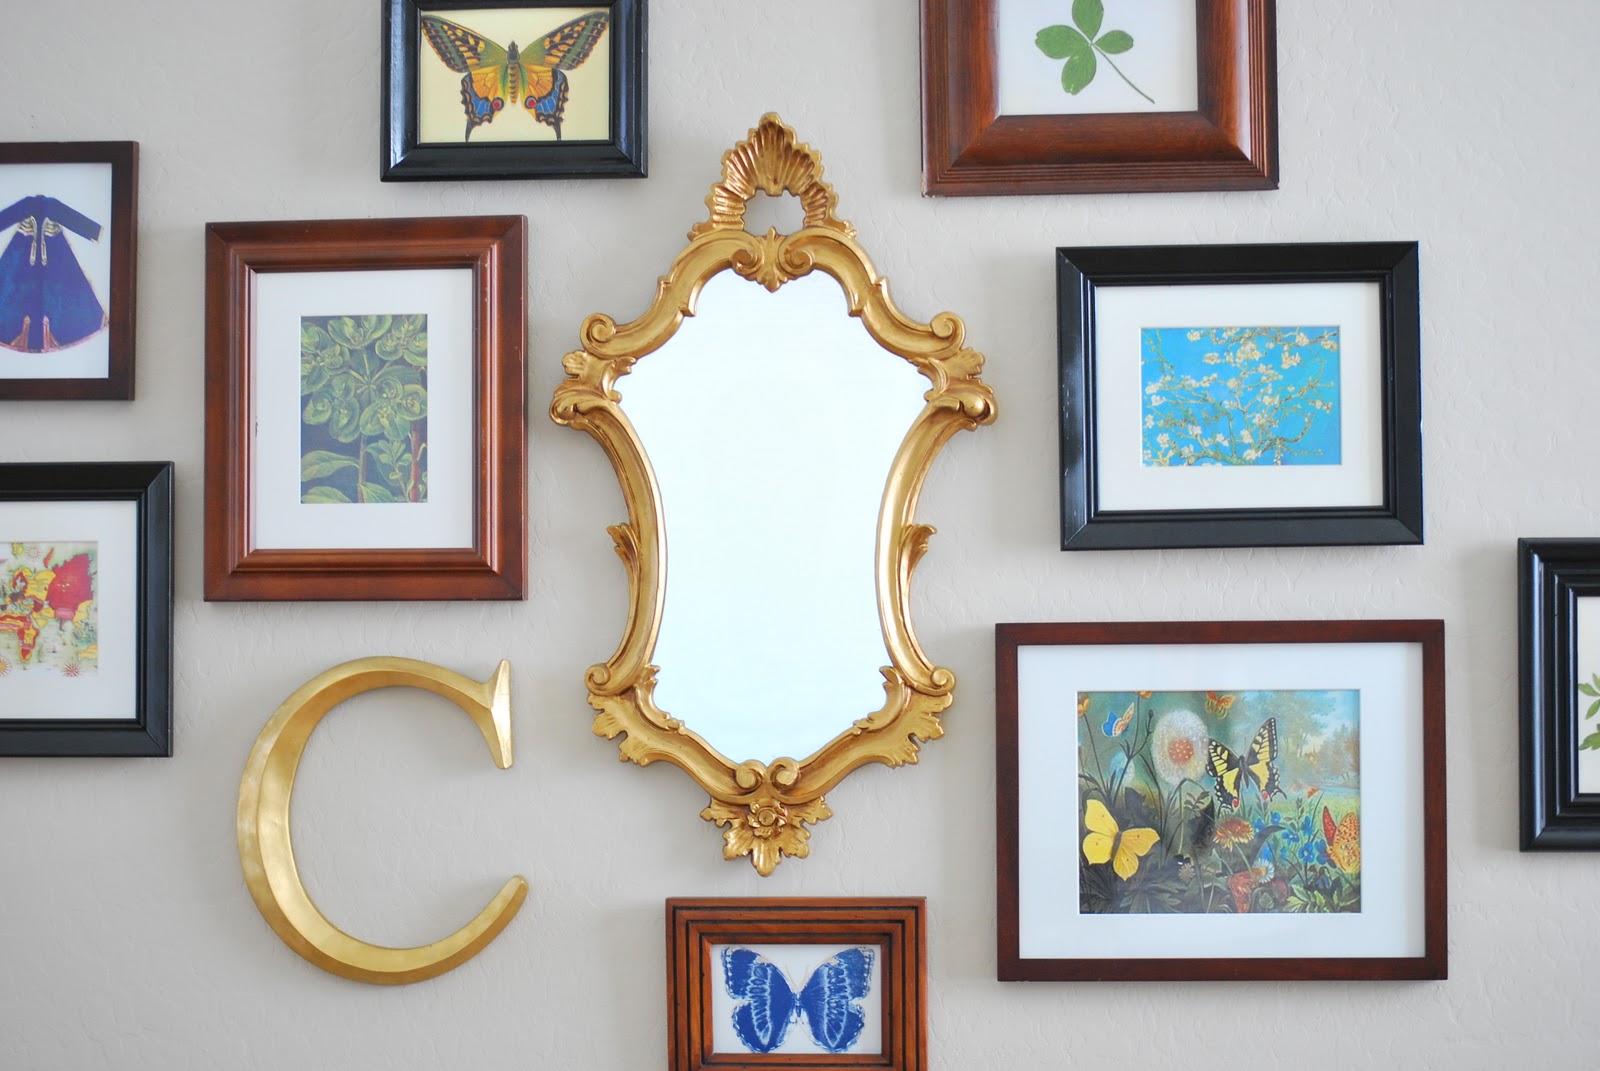
Here are some of my favorites...I'm thinking I might need to trade out a couple...


I recently spied this image from the Style at Home booth at Toronto's design show and immediately wished I'd thought to do this.  The blue butterfly is the same as mine, but they had it made into a canvas.  You'll find the butterfly prints on the left at Vintage Printable as well.  Oh the possibilities!
Thanks for stopping by!

Photobucket

Friday, February 25, 2011

Twitter

I'm on Twitter...I think. twitter.com/nattybydesign
Also, THANK YOU for all the wonderful comments...they put a huge grin on my face :)
Photobucket

Thursday, February 24, 2011

Before and After and a cost breakdown

Prepare yourselves for the fabulous before and after of my table and chairs!  Nothing is more exciting than a great "before and after"...agreed?

This picture doesn't do the complete nastiness of the table justice.  The previous owners had two very large dogs that had done some serious damage to the legs and a couple of the cushions.  Something else you can't see are the atrocious seashell details on the table legs - Zac took the grinder to those.  I wasn't digging the heart shaped backs either, so I made a template similar to the Pottery Barn chairs here and Zac cut them out with his trusty jigsaw.

Ahhh, so much better.


Next comes the cost breakdown of the dining room...the best part, in my opinion :)
Table and Chairs: $200 {Craigslist}
Faux Ostrich Fabric: $45 {50% off at Joann's}
Foam for chairs: $40 {with 40% off coupon}
Batting for chairs: $10 {also with a 40% off coupon}
Paint/primer/sand paper: $35
{Total table cost: $330}

Antique Sideboard: $125 {Craigslist}
Paint/sand paper: $20
Hardware: $28
{Total sideboard cost: $173}

Mirror: $60
Jute Rug: $100 {Ikea}
Place mats: $24 {Ikea}
Plants: $16 {Ikea}
Plant pots: $9 {Ikea}
3 Frames: $18 {Homegoods}
Artichokes: $13 {Homegoods}
Elephant: $12ish {Pier 1}

Dining Room Grand Total...drum roll please...$755!

Thanks for stopping by :)

Photobucket 

Giveaway Winner!


Thank you to everyone who entered the Cash giveaway and signed up as a follower!  The winner is Ashley Terry!


Ashley Terry said... 
 
Jeans! Since having my baby (17 months ago) I just don't fit my jeans right anymore.

True Random Number Generator


21

Powered by RANDOM.ORG


Ashley, if you could send me an email with your information, I'll get you your prize.

Photobucket

Wednesday, February 23, 2011

Upholstering Dining Chairs

Things needed for this project:
Foam {I wanted fluffy chairs so I went with the 2"}
Dacron or 3/4" batting
Pneumatic staple gun {an electric staple gun WON'T work...I tried it, then promptly asked for a pneumatic for Christmas}
3/8" Staples
Razor knife
Marker

1. Trace your seat base leaving an extra inch all the way around.
2. Cut it out.  {The ladies at JoAnn's used an electric bread knife to cut the foam and it worked much better than the razor, but you probably don't have one of those either.}  Don't worry about the edges being messy, it won't matter.
3. Staple the foam to your seat base.  Don't staple from the top, staple downward on an angle from the middle of the outside edge of the foam.  It won't look smooth, but that's what the dacron is for.

4. Measure and cut your dacron.
5. The purpose of the dacron is to smooth the surface of the foam, while adding extra cushion.  Roll your edges over and staple, always starting with the middle.  Put one staple in the front middle, the back middle and the sides.  Then go back and finish stapling the rest of the front, the back, then the sides.  Make sense?  {Yes, I am in my pajamas...and enjoying a root beer float while watching Confessions of a Shopaholic.}
Do not staple the corners.  If you staple the dacron to the corners you'll end up with too much bulk and your seat won't sit right when it's finished.  Staple up to about 1 inch from the corners.
Cut off the excess.
This is what it will look like before you trim the excess.
And this is after.
6. Cut your fabric and repeat step 5.

7. This next part is tricky to explain.  There are two types of corners to choose from when covering a seat - the tailored pleat {single pleat} and the butterfly pleat {double pleat}.  The fabric I chose is a faux ostrich leather {I wanted something wipe-able} and because of its thickness the butterfly pleat would've been too bulky, so we went with the tailored.  Cut up the center of your corner.


8.  Then cut away the excess fabric on the side you don't want the pleat.
9.  Fiddle with it over and over until you get the hang of it and like how it lays

10. Staple like crazy.

11.  Clean up the mess.


Feel free to email/comment if something doesn't make sense.

Photobucket

Tuesday, February 22, 2011

Interview

I was so flattered when The Fresh Biz asked to feature me on their blog.  Go here to check out the interview.

Also, the Cold Hard Cash giveaway ends tomorrow!!!  Go here to enter.

Photobucket

My dining room...

is one step closer to being finished!  It's amazing what you can get done with an extra day off.  We finished upholstering the dining chairs late last night and they look amazing.  I'll whip up a tutorial and have it for you tomorrow.  For now, here are some pictures of the finished product.


Photobucket

Sunday, February 20, 2011

Blog Love

I love blogs...design blogs, decorating blogs, crafting blogs. They inspire me to be creative, to think outside "my box". I usually stay up late in my workshop garage, so getting up early in the morning is difficult. Something I've started to help motivate me is to allow myself 15 minutes first thing every morning to go through my google reader...under the covers, in my warm bed, on my phone (I'm dying for an ipad). I look forward to this everyday. The blogs in my Google Reader change frequently, but these are my current daily reads.


What are some of your favorites???

Photobucket

Friday, February 18, 2011

Hectic

Do you ever have those mornings where there are so many things to do and you're not sure where to start or which direction to go in...so you do nothing? That's today for me. My bed is covered in folded and unfolded laundry, the kitchen is a mess, the bathrooms need to be cleaned, we're perilously low on groceries, there's furniture in my garage that needs attention, I have several emails to respond to, the girls are still in their pajamas...yet here I am telling you all about it and doing nothing to remedy it. Maybe I'll waste more time by making a list of all the things I need to do. I thoroughly enjoy list making and even more so, the crossing off of items on them.


Photobucket

Wednesday, February 16, 2011

Cold Hard Cash!

It's my very first GIVEAWAY and I'm practically giddy about it! Follow the steps below and you'll be entered to win $50 cold hard cash!
1. Sign up as a follower.
2. Leave a comment telling me what you'll do with the money if you win.
3. For an extra entry, Tweet, Facebook and/or blog about this giveaway and then come back and leave me a comment telling me you did so.

The winner will be chosen next Wednesday, February 23rd at midnight!

Also, I finally started a Facebook account. Maybe we could be friends?

Photobucket