Showing posts with label tutorial. Show all posts

Friday, November 16, 2012

Tutorial :: Disguising Wood Filler when Distressing

I tried Milk Paint for the first time last week…and LOVED it!  I was able to paint, distress and clear coat two dressers within three of Charlotte's naps.  And the total bonus was that I got to do it inside!  Awesome.

There were several places along the edges of the drawers where the veneer was chipped.  I filled them with wood filler, painted the drawers and distressed them.  As I sanded the paint off the edges of the drawers, the wood filler began to show through.  It's a much lighter a color than the wood and I didn't like the way it detracted from the overall look.

It was an easy fix.  Before I applied the finish coat, I grabbed some basic brown, acrylic paint and a cheapy paint brush. 


I painted over the wood filler with a light coat of the brown paint and the wood filler disappeared.  


You can see the before and after on the corner veneer chip below…


After applying the finish coat you'd never be able to tell how many places the wood filler should've shown through.


Photos of the finished product will be up next week!

Friday, August 31, 2012

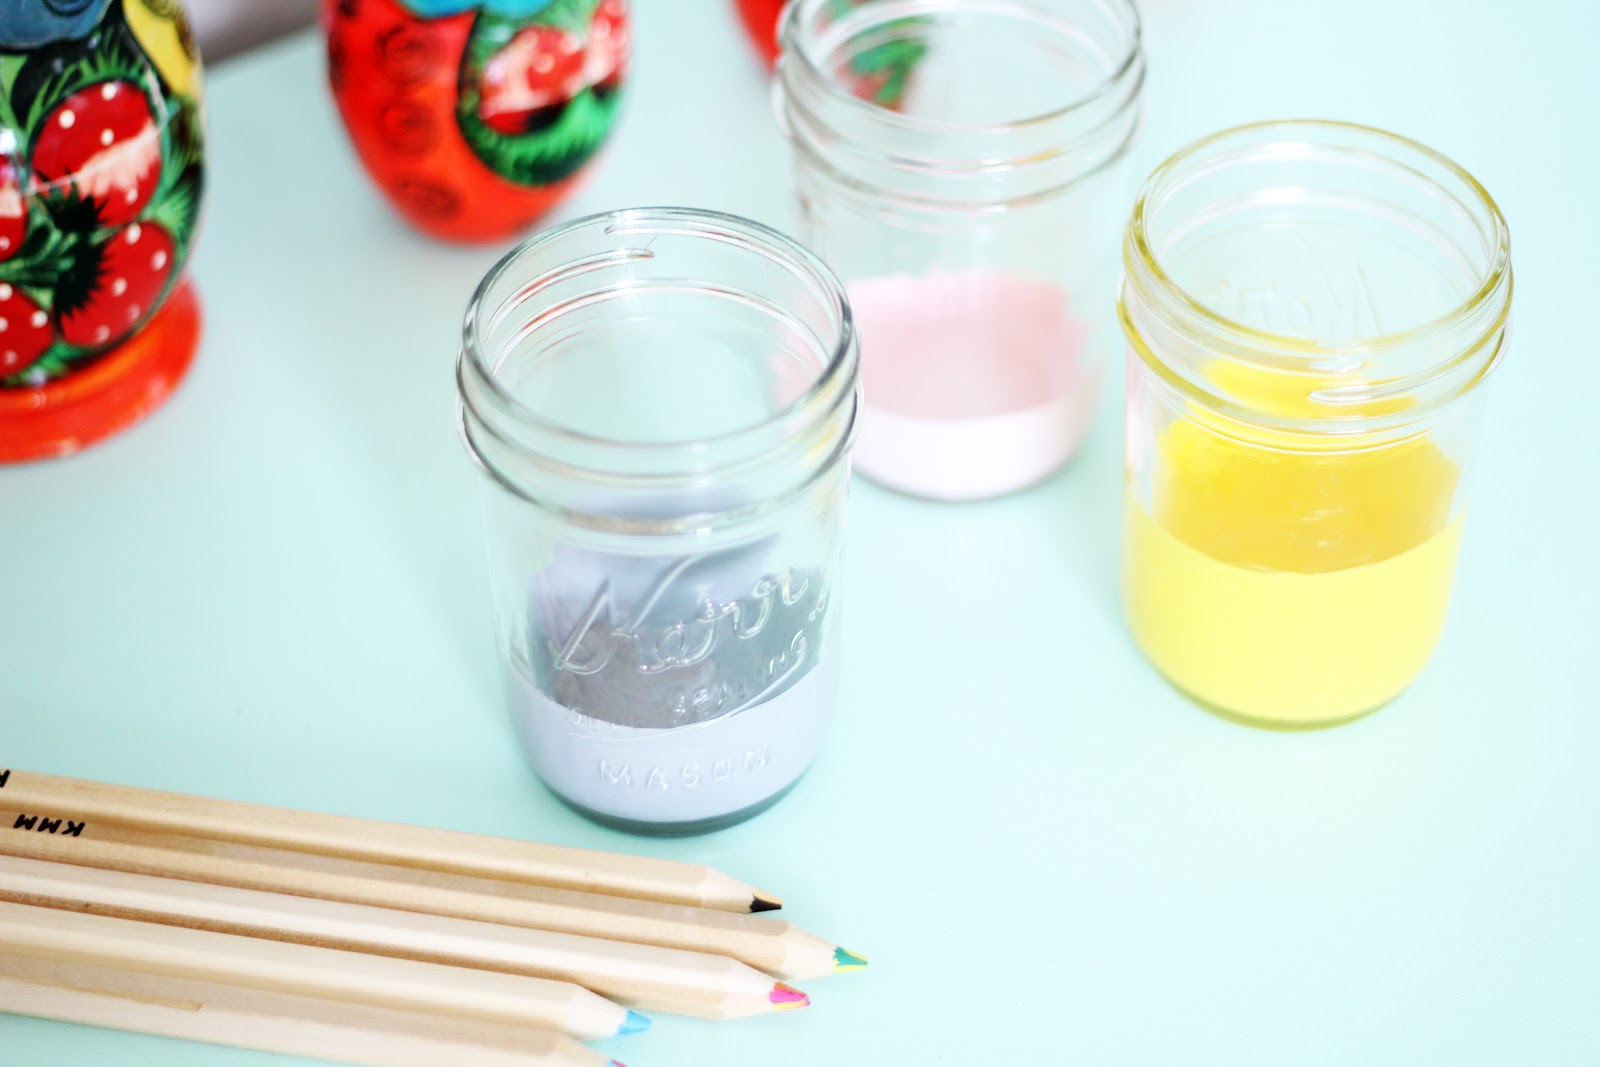
tutorial :: paint dipped mason jars

One of our issues in a home of little "collectors" is where to put their treasures without their dressers feeling cluttered.   These paint dipped mason jars came about as we were trying to find a cute way to store Madeline's.


They are serving their purpose well!

I love quick little projects where I already have the supplies on hand...


….mason jars and paint.


Start by carefully pouring a small amount of paint into the bottom of the jar - take care not to get any on the sides. 
Then tip your jar while slowly turning it to line to lower portion of the jar.
Remove the excess paint pooled in the bottom with a plastic spoon.  This can keep the paint from curing improperly.

If needed, take a q-tip to smooth out the edge.


Allow the proper dry time (I used a paint that takes quite a while to dry, so I waited two days) and fill. I see them also working great on a desk with pens, pencils and scissors.

And here's s sneak peak of Madeline's finally finished room.


Also, some other DIYs from her room:

Pin hook drapes tutorial.

Six dollar duvet cover.

DIY shelves.

Her dresser before and after.