
One of our issues in a home of little "collectors" is where to put their treasures without their dressers feeling cluttered. These paint dipped mason jars came about as we were trying to find a cute way to store Madeline's.
They are serving their purpose well!

I love quick little projects where I already have the supplies on hand...

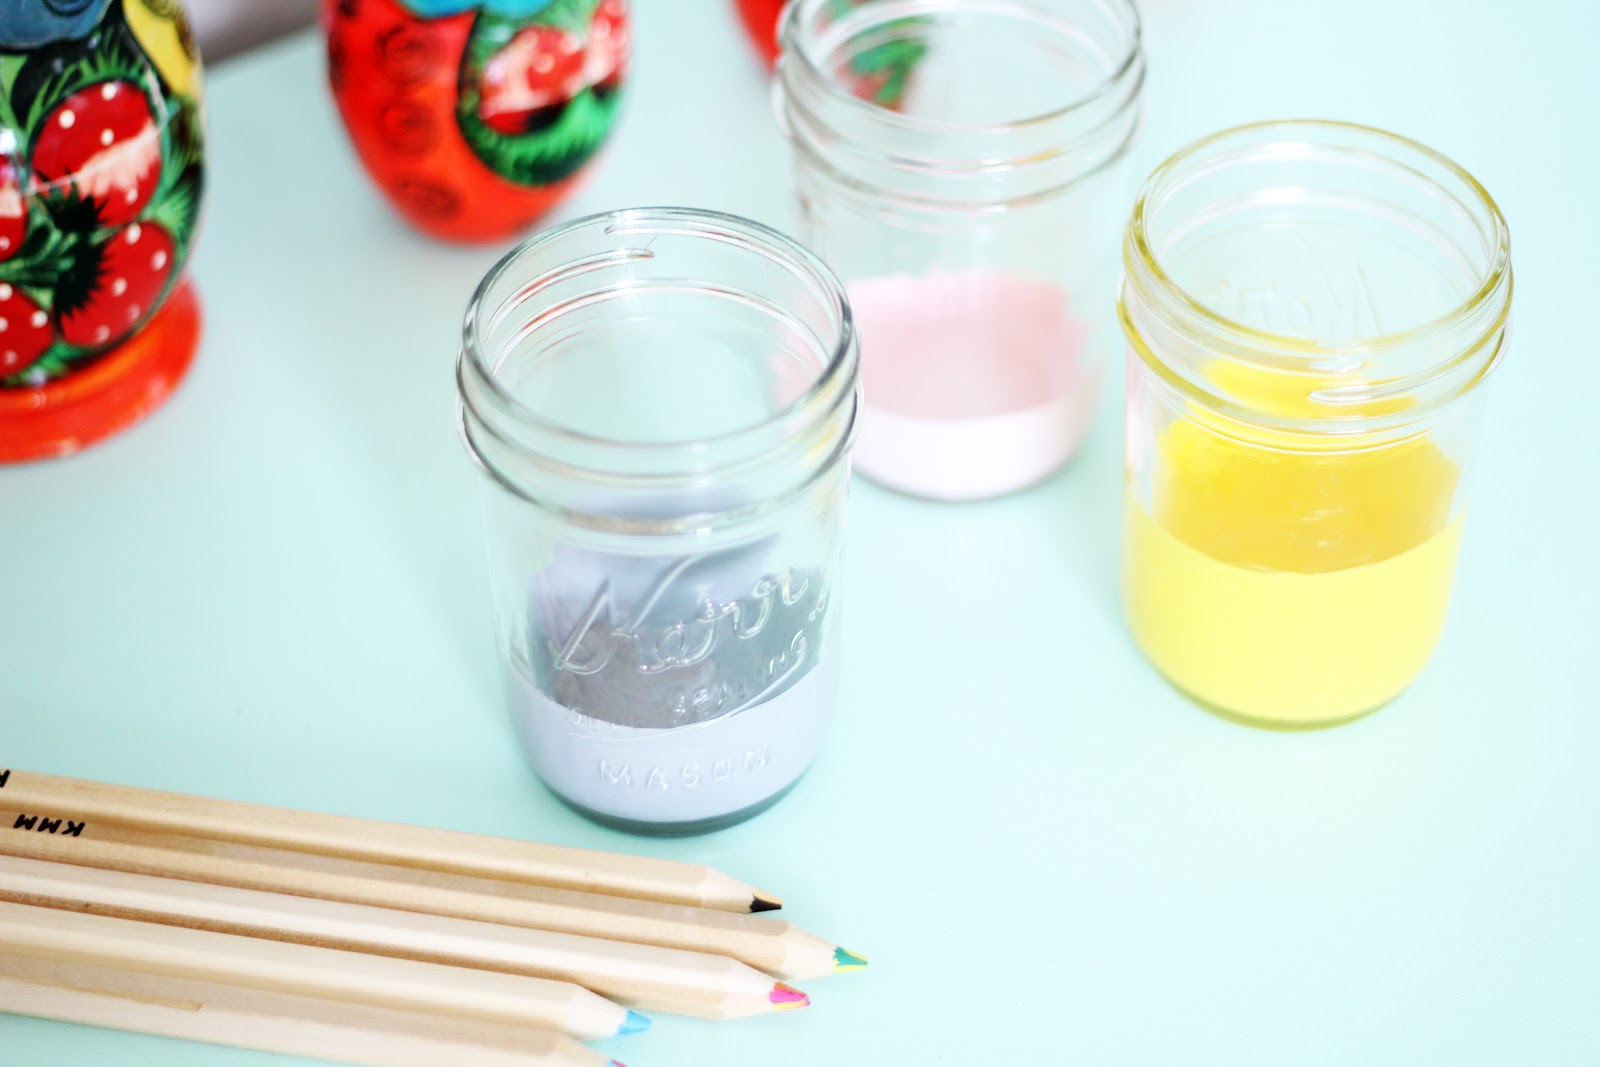
….mason jars and paint.


Start by carefully pouring a small amount of paint into the bottom of the jar - take care not to get any on the sides.
Then tip your jar while slowly turning it to line to lower portion of the jar.
Remove the excess paint pooled in the bottom with a plastic spoon. This can keep the paint from curing improperly.
If needed, take a q-tip to smooth out the edge.

Allow the proper dry time (I used a paint that takes quite a while to dry, so I waited two days) and fill. I see them also working great on a desk with pens, pencils and scissors.


Also, some other DIYs from her room:
Pin hook drapes tutorial.
Six dollar duvet cover.
Thirty minute pillow tutorial.
DIY shelves.
Her dresser before and after.


Simple and great. Can't wait to see the rest of the space, looks really fun!
ReplyDeleteI can't wait to see the rest of the room! I love the little matryoshka dolls too! I'm in the process of decorating our guest room with Russian things... too bad that my husband didn't bring any of those dolls home to keep... he gave them all away!
ReplyDeleteyou're fancy. very cute.
ReplyDeleteThese turned out adorable! I have a load of mason jars, and now I think I need to try this project myself for storage, which I'm always in need of. I'm actually thinking this would perfect in my pantry, if I paint the outside of the jar instead.
ReplyDeleteThanks for the inspiration. (Stopping over from Two-Twenty One, where your Blog Her ad was showing.)